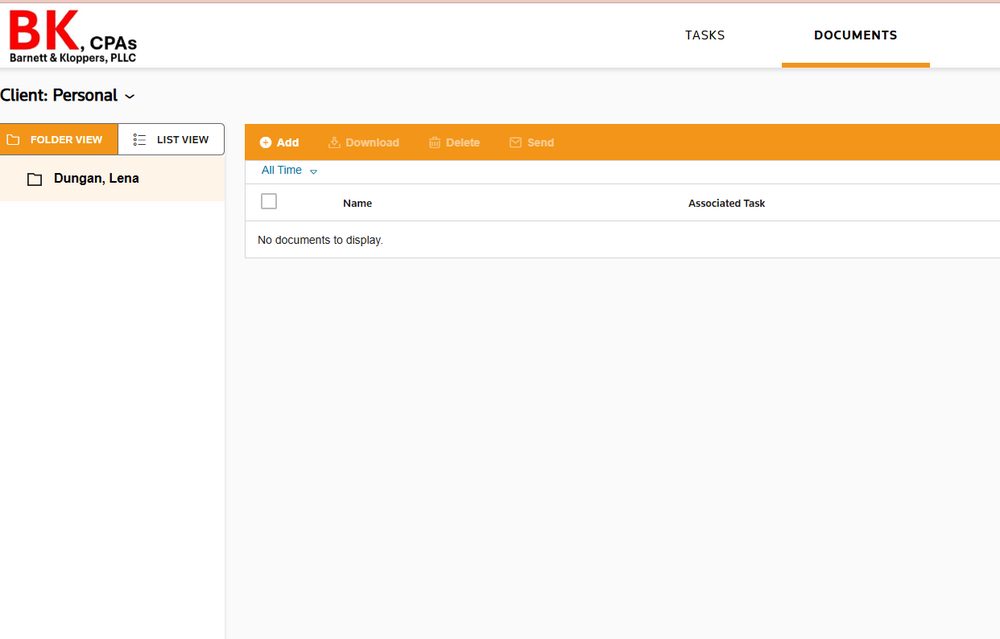
Set Up Your Client Portal in Onvio
Watch the video or follow the written instructions below.
Step 1: Check Your Email
Open your email inbox, look for an email from Barnett & Kloppers titled "Register Your Client Center Account." Click on the email to open it.
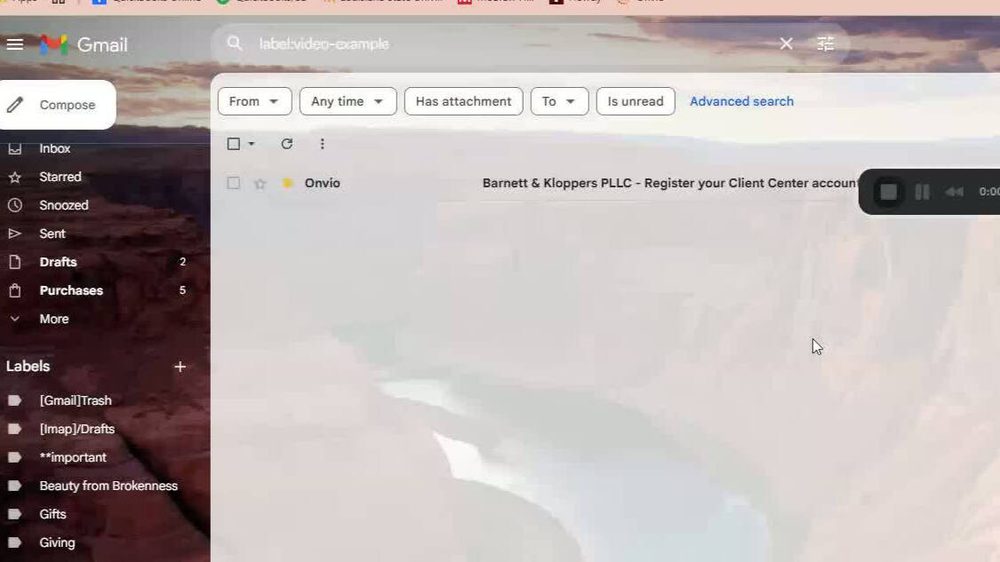
Step 2: Register Your Account
In the email, click the "Register Now" button.
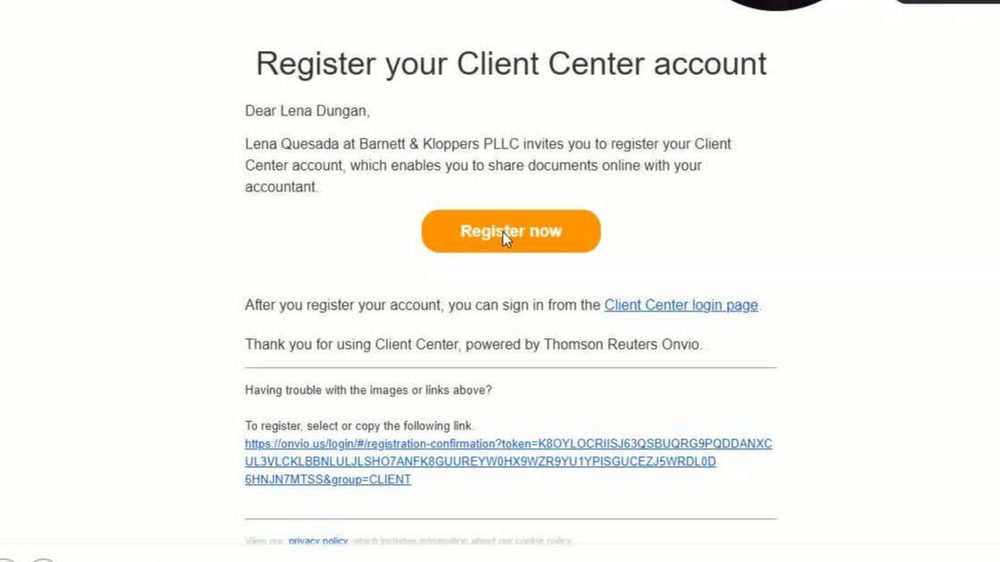
Step 3: Create Your Password
A new tab will open with your name displayed. Edit your name if necessary, create a password for your account, and click the "Register Me" button below.
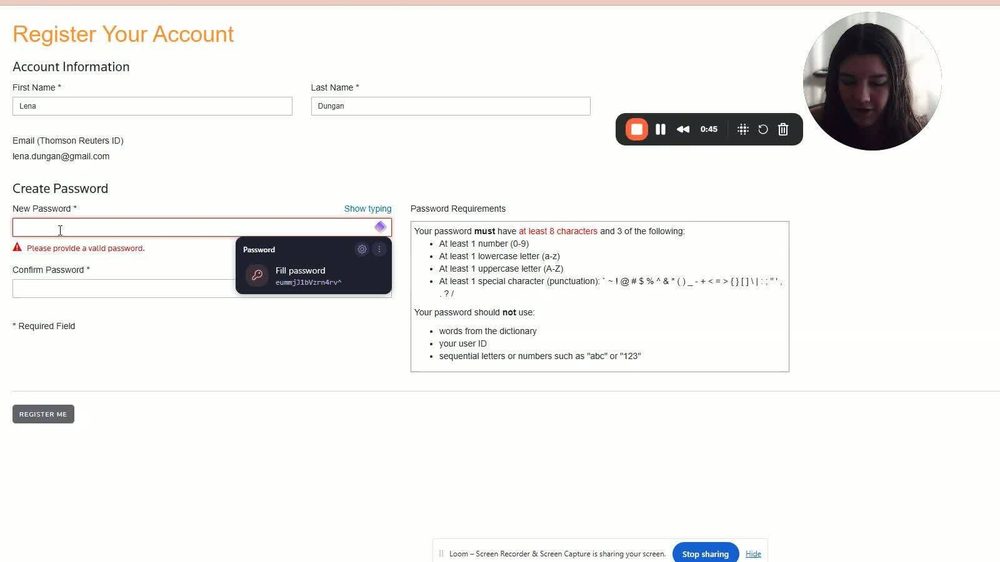
Step 4: Access the Portal
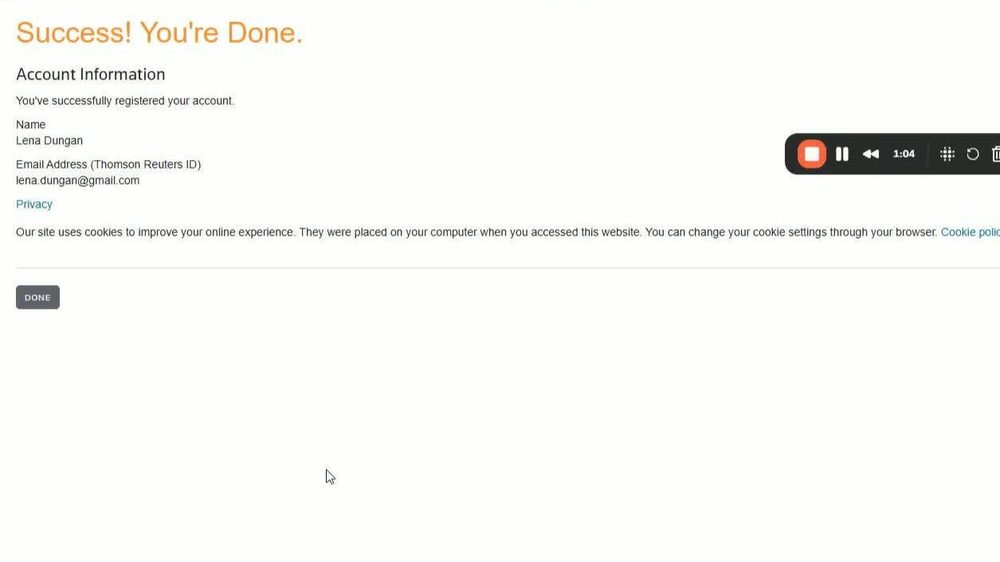
A confirmation window will pop up indicating successful registration. Click 'Done' to proceed to the portal and sign in using your registered email and password.
Step 5: Set Up Two-Factor Authentication
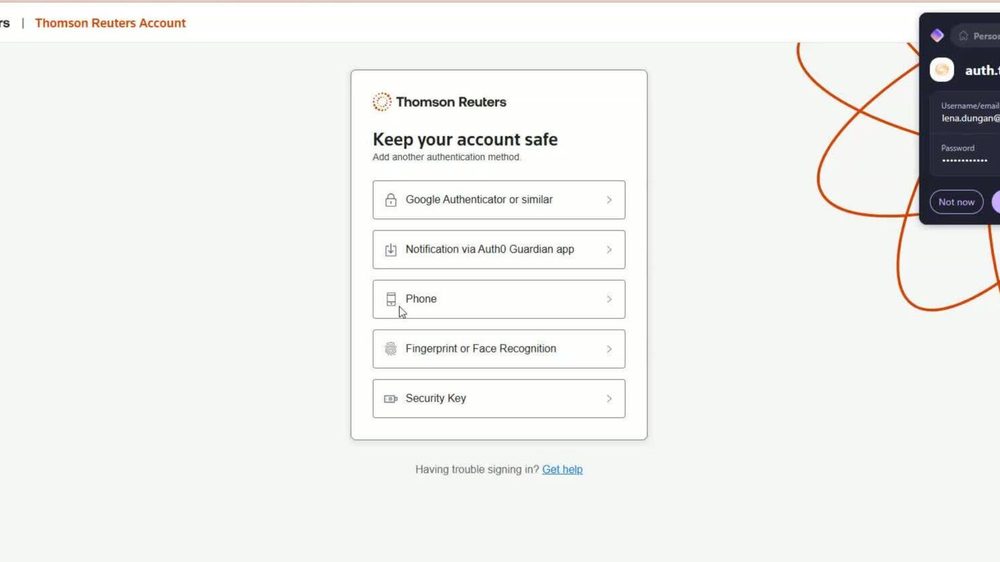
After entering your login information, the website will prompt you to set up an additional authentication method. If you choose phone number, it will send a verification code by text or call.
Step 6: Save Recovery Code
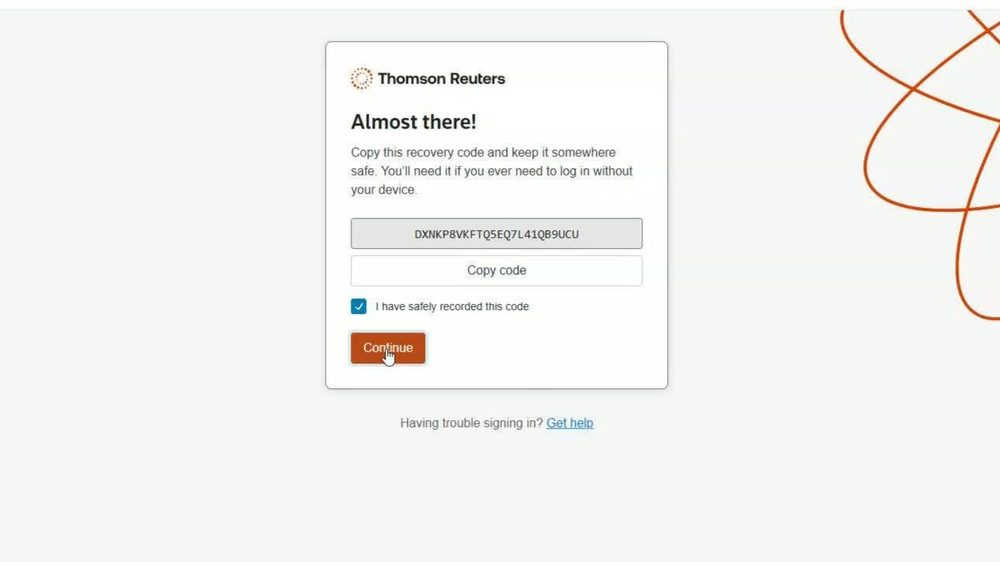
After entering the verification code, you will receive a custom Recovery Code for your Onvio account. Copy it down and store it in a safe place. Click 'Continue' to access the client portal.
Dashboard, Task Tab
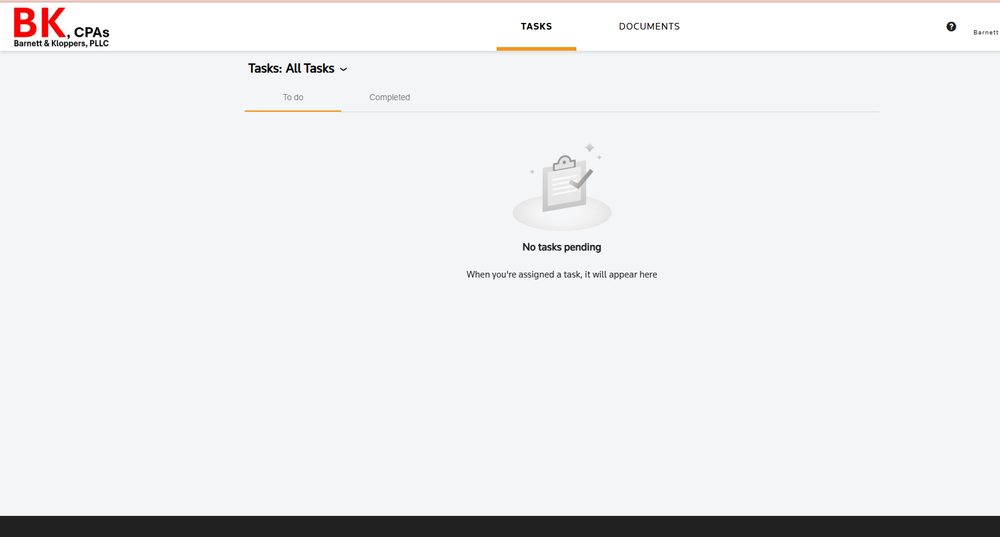
The portal will open to the Task Tab, which will list any document requests we have sent.
Uploading/Viewing Documents
Click the 'Documents' tab to view previously uploaded tax returns and upload documents.